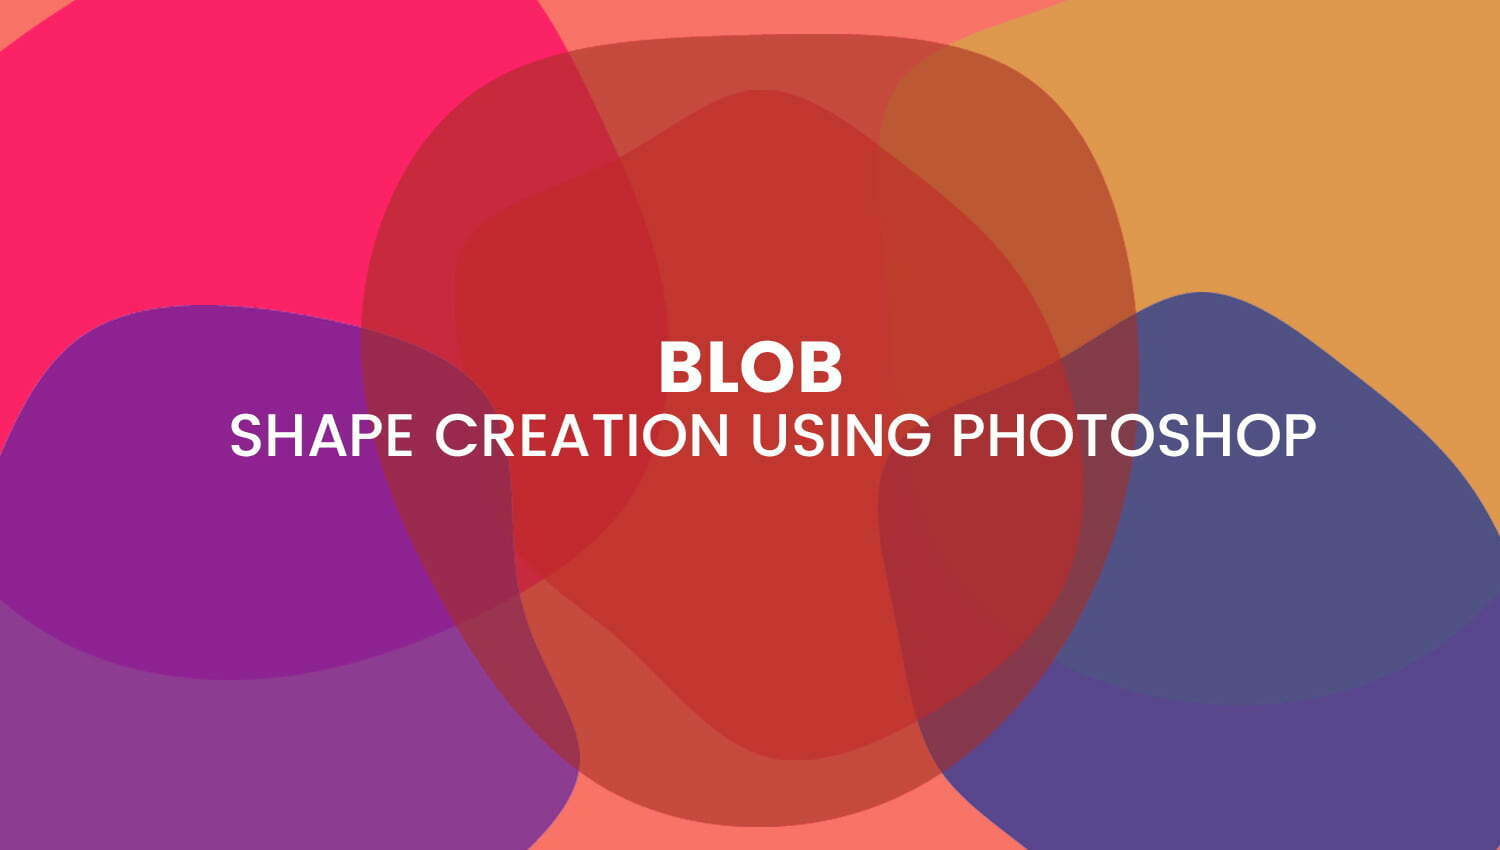
In this blog, we will see how to create a blob image from scratch by using some of the simple methods that you can use to add blob images to your websites.
The methods are :
- Creating Blob image using photoshop
- Creating Blob with Blob maker
1. Creating Blob image using photoshop
If you want to create a blob image to use on your website, you can do that easily by masking an image over a blob shape using photoshop. The following steps will be described in detail with images
Step 1 : Setting up the document size
Go to the File menu and choose a new document or enter the shortcut (ctrl+n). Then in the new document dialog box, you can choose the pixel size for width and height. Here I have selected 600X400 pixels.

Now our document is ready, you can draw some shapes!

Step 2 : Where I can find the shape tool to draw the blob shape in Photoshop?
All types of shape tools in photoshop can be found in the toolbar, grouped together on the same spot. The default tool is the rectangle tool.

Click and hold on to the rectangle icon and you can view all the shape tools embedded behind it. You can select any shape by clicking on its name shown in the list. Here I have chosen the ellipse tool.

Step 3 : How to draw a shape with the ellipse tool
First, choose the ellipse tool from the toolbar.
Next click on the document to set a starting point for the shape, and then drag away from that starting point.
Now you can not see the shape’s fill color or stroke color, all you will see is the shape path outline.
In the below image, I have drawn a circle using the ellipse tool.

Step 4 : Adjust the drawing to custom shape
You can select the direct selection tool to customize the shape. The direction selection tool is embedded in the path selection tool.

After selecting the direct selection tool click on the shape, the path outline will be visible, now you can select any point on the outline, press and hold the mouse button and drag in any direction. Now the shape will resemble a blob.

Step 5 : Import your image into a layer to create a blob shape
Once your blob is created, you can simply import your image into a layer that overlaps the blob shape.

Next right-click on your mouse over the image layer and create a clipping mask option that applies to the blob shape underneath.


To export quickly, you can merge the two layers (image layer and blob layer) together. Next, “right-click” on your mouse over the merged layers and select the option for “quick export” as PNG.
Now you will get a PNG format of a blob image that you can use on your websites.

2. Creating a Blob using Blob Maker
This is another cool method to create a blob image. If you don’t have the time for drawing a custom blob using photoshop tools, this method will help you to quickly create a blob image.
2.1 How to create a blob using the blob maker tool
If you want to create a simple blob shape without using photoshop custom tools you can easily do this by using a web application called Blobmaker.

You can easily select the distortion and number of points. The points and numbers create a completely random blob for your website.

Also, you can implement the blob into your website by copy and paste the SVG code, or you can download it as an SVG, convert it to whatever image format, and then re-upload it to your site. You can also set the color for your blobs.

This blob maker online tool is very simple and great because it creates complete random blobs, based on the expectation shape that you can toggle through it until you find a better blob that works well on your website. This tool makes a better solution for creating SVG blobs for your website.
Here are some sample blobs that were generated with the blob maker application


2. 2 Create image blobs (Create clipping mask)
Once you have generated the blob, download it onto the computer and load up the photoshop.
Next, you can Place the SVG blob directly into the photoshop for canvas

Here we will do the same process as we discussed in the above step 5. So once your blob is ready for the canvas, you can import your image into a layer that overlaps the blob shape.


Next, right-click on your mouse over the image layer and create a clipping mask option that applies to the blob shape underneath. Now you have a blob-sized image.

Conclusion
If you are wondering how to add image blobs to your website, this article presents you with clear ideas of ways to do this. Using the Photoshop method for creating image blobs is great. If you are also trying to generate PNG images while masking SVG’s, it can be done completely online with the blob maker tool that comes with the requirement of using the SVG on the website.
To know more about CSS, Angular, Elementor, and other design-related kinds of stuff visit our Blog.